
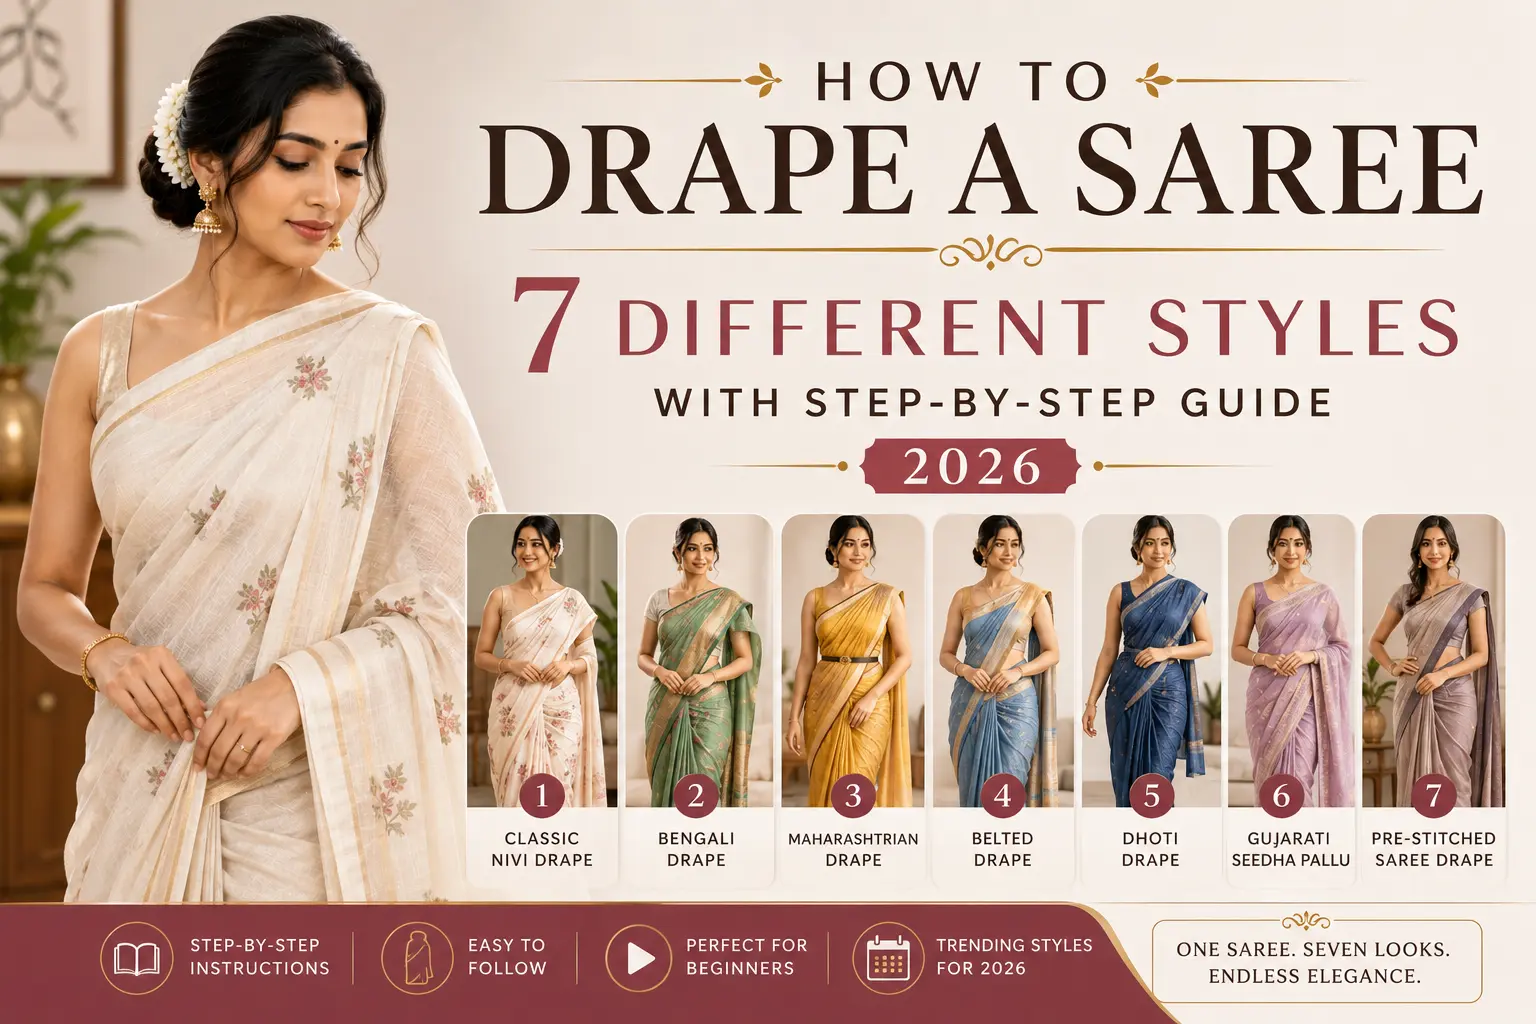
How to Drape a Saree: 7 Different Styles with Step-by-Step Guide (2026)
The saree has been worn for over 5,000 years across the Indian subcontinent. In that time, women across regions and communities have developed their own unique ways of wearing it — over 80 documented draping styles exist today, each with its own logic, beauty, and cultural meaning.
Some are practical: the Maharashtrian Nauvari was designed so women could work and even ride horseback. Some are religious: the Gujarati seedha pallu allows the decorative end to drape in front, perfect for temple visits. Some are simply the most flattering 6 yards in the world: the modern Nivi drape, the everyday style most Indian women wear today.
This guide walks you through 7 essential saree drapes, with clear step-by-step instructions for each. Whether you are draping a saree for the very first time, attending a regional wedding, or experimenting with a new style for a special occasion, there is a drape here for every moment.
| Before You Drape — 8 Saree Essentials Checklist
• Saree length: Standard 5.5 to 6.3 metres; pleated drapes need the full length • Petticoat: Match the saree base colour; fitted at the waist with a strong drawstring • Blouse: Stitched and well-fitted before draping — never drape with a loose blouse • Safety pins: Stock up — you will use 4 to 8 depending on the drape style • Heels or footwear first: Wear your shoes before draping — height affects the pallu length • Mirror placement: Use a full-length mirror for the back; ideally two mirrors at angles • Time required: 10 minutes for Nivi; 20–30 minutes for complex regional drapes • Practice tip: Practice every drape twice before wearing it to an event |
01. The Nivi Drape (Modern Indian)
Origin: Andhra Pradesh, now standard across India Best for: Daily wear, weddings, festivals, work — universal use Difficulty: Beginner-friendly · 10 minutes
The Nivi drape is the most worn saree style in India today. Developed in the early 20th century from the Andhra Pradesh region, it became the standard urban drape after being popularised by Tagore’s family and Bollywood. The Nivi features pleats at the front, with the pallu flowing over the left shoulder to the back. Elegant, comfortable, and infinitely adaptable.
Step-by-step Nivi drape
- Step 1: Tuck the right end of the saree into your petticoat at the right hip, with the saree’s plain side facing inward.
- Step 2: Wrap the saree around your waist once, bringing it back to the right side.
- Step 3: From the right side, take the pallu end (the decorated side) and drape it over your left shoulder. Adjust the length to fall to your knee at the back.
- Step 4: Return to the front. Take the remaining length of saree and form 5 to 9 pleats, each about 4–5 inches wide.
- Step 5: Hold the pleats together, even them out, and tuck them firmly into the petticoat at the centre of your waist, just below the navel.
- Step 6: Adjust the pallu — pin it to the left shoulder of your blouse with a safety pin for security.
- Step 7: Smooth the pleats, adjust the pallu fan if you prefer it spread out, and you are done.
Also read:- Best Traditional Sarees for Weddings & Festivals in India
02. The Bengali Drape (Atpoure Shari)
Origin: West Bengal Best for: Durga Puja, traditional Bengali weddings, festivals Difficulty: Intermediate · 15 minutes
The Bengali drape is one of the most distinctive regional styles — no front pleats, a wide pallu wrapped around both shoulders, and traditionally accompanied by a set of keys (chabir guchcho) tucked into the shoulder for symbolic significance. Most often draped in red-bordered white sarees during Durga Puja.
Step-by-step Bengali drape
- Step 1: Tuck the right end of the saree into your petticoat at the right side.
- Step 2: Wrap the saree around your waist once (left to right), this time without making any pleats at the front.
- Step 3: Bring the saree to the right side, then take it across your back and bring it to the front under your left arm.
- Step 4: Now take the pallu and drape it over your left shoulder, bringing it across to the right side.
- Step 5: Take the pallu end and bring it back over the right shoulder so it hangs down from the right side of your back.
- Step 6: Pin the pallu at both shoulders for security. There are no front pleats in this drape — the front falls in soft, unpressed gathers.
- Step 7: Traditional accent: pin a set of decorative keys at the right shoulder where the pallu falls.
03. The Maharashtrian Drape (Nauvari)
Origin: Maharashtra Best for: Traditional Marathi weddings, religious functions, dance performances Difficulty: Advanced · 25 minutes
The Nauvari is a 9-yard saree drape that wraps around the legs to create a dhoti-like silhouette in the lower body. It was historically designed for ease of movement — Maratha women wore this style for working in fields, riding horses, and even fighting. Today it is worn at traditional weddings, religious ceremonies, and lavani dance performances. A unique Paithani Nauvari is especially treasured.
Step-by-step Nauvari drape
- Step 1: Note: this drape requires a 9-yard saree (not the standard 6-yard). No petticoat is worn.
- Step 2: Find the centre of the saree and tie a knot at the centre, securing it at the front of your waist.
- Step 3: Wrap one end of the saree around your right leg, bringing it through between your legs and tucking it at the back of your waist — this creates the dhoti effect.
- Step 4: With the other end, wrap around your waist creating pleats at the front, then tuck them into the back-tucked dhoti pleats.
- Step 5: Take the pallu over the left shoulder, similar to the Nivi style, but with the pallu falling lower at the back.
- Step 6: Pin all key holding points: front knot, back tuck, and shoulder pallu.
- Step 7: Final adjustment: the Nauvari should allow you to walk comfortably and even sit cross-legged. If movement is restricted, the dhoti tuck needs loosening.
Also read:- Top 10 Handloom Paithani Saree Paithani Sarees for Weddings
04. The Gujarati Drape (Seedha Pallu)
Origin: Gujarat and Rajasthan Best for: Gujarati weddings, religious ceremonies, temple visits, Navratri Difficulty: Beginner-friendly · 12 minutes
The Gujarati drape — also called the ‘seedha pallu’ or ‘front pallu’ style — features the pallu draped from the back over the right shoulder to the front. This style showcases the saree’s decorative pallu prominently in front, making it ideal for embroidered or zari-rich sarees you want everyone to see.
Step-by-step Gujarati drape
- Step 1: Begin the same way as the Nivi drape: tuck the right end at the right hip and wrap once around the waist.
- Step 2: Make 5–7 pleats at the centre and tuck them into the petticoat as in the standard Nivi style.
- Step 3: Now, instead of taking the pallu over the left shoulder (Nivi style), take it across the back and bring it from under the right arm.
- Step 4: Drape the pallu across the chest from right to left, with the decorated end falling in the front.
- Step 5: Spread the pallu to display its full design across the front body — this is the signature feature of the Gujarati style.
- Step 6: Pin the pallu to the right shoulder (where it comes over) and again at the left front (where it ends) for security.
- Step 7: Adjust pleats and pallu spread — the pallu’s design should be fully visible from the front.
05. The Tamil Madisar Drape
Origin: Tamil Nadu (Iyengar and Iyer Brahmin tradition) Best for: Tamil Brahmin weddings, religious occasions, temple ceremonies Difficulty: Advanced · 30 minutes
The Madisar is the traditional Tamil Brahmin drape, worn by married women in religious settings. Like the Nauvari, it uses a 9-yard saree and creates a dhoti-style lower body. Distinctive features include the absence of a petticoat, the front tucks, and a specific way of bringing the pallu over the left shoulder and across the body.
Step-by-step Madisar drape
- Step 1: Use a 9-yard saree. No petticoat is worn for the traditional Madisar.
- Step 2: Tie one end of the saree at the front waist, leaving a long length to one side.
- Step 3: Wrap the saree around the waist, creating dhoti-style pleats by passing the saree through the legs at the back.
- Step 4: Bring the remaining length of saree around the waist again to create the upper drape.
- Step 5: Form vertical pleats at the front waist (different from horizontal Nivi pleats) and tuck firmly.
- Step 6: Take the pallu over the left shoulder, then cross it diagonally to the right side and tuck at the right waist.
- Step 7: Pin all critical points: front pleats, back dhoti tuck, shoulder pallu, and the right-side tuck.
06. The Mermaid / Lehenga Drape
Origin: Modern Indo-fusion Best for: Receptions, sangeets, modern weddings, fashion-forward events Difficulty: Intermediate · 20 minutes
The mermaid (or ‘lehenga style’) drape is a contemporary innovation popularised in the 2010s and now mainstream in 2026. The pleats fan out beautifully at the bottom — like a mermaid silhouette — creating a dramatic flowing skirt effect ideal for receptions and red-carpet style events.
Step-by-step Mermaid drape
- Step 1: Start with the standard Nivi tuck — secure one end of the saree at the right hip.
- Step 2: Wrap the saree around the waist once.
- Step 3: Make front pleats as in the Nivi drape, but use about 7–9 pleats (more pleats = more dramatic fan effect).
- Step 4: Tuck the pleats not at the centre, but slightly to one side of the waist for a more flattering silhouette.
- Step 5: Drape the pallu over the left shoulder, leaving it long and unpinned for a flowing red-carpet look.
- Step 6: Here is the key step: at knee height or just below, take the pleats and fan them out to one side, then pin them in place. This creates the iconic mermaid flare.
- Step 7: Pin the bottom of the pleats firmly at the calves to maintain the fanned shape while walking.
07. The Dhoti / Pant-Style Drape
Origin: Modern fusion Best for: Cocktails, parties, fashion events, modern receptions Difficulty: Beginner-friendly · 12 minutes
The pant-style or dhoti drape is the boldest fusion innovation in saree styling — and it has become a signature look at modern weddings and fashion-forward events in 2026. Worn over leggings or fitted pants, this drape skips the traditional pleats entirely and creates a striking, contemporary silhouette.
Step-by-step Dhoti drape
- Step 1: Wear fitted leggings, pants, or a slim dhoti underneath (instead of a petticoat).
- Step 2: Take one end of the saree and tie it at your waist with a strong knot — no tucking required.
- Step 3: Wrap the saree around your waist, but instead of making horizontal pleats, create a ‘V’ fold at the front by tucking the saree between your legs (like a dhoti).
- Step 4: The lower drape now looks like loose pants. Pin or tuck the dhoti folds at the back of the waist.
- Step 5: Take the remaining length and drape it as a pallu over the left shoulder, either pinned or flowing.
- Step 6: Adjust the lower dhoti folds for symmetry and walking ease.
- Step 7: Style note: pair this drape with a corset, halter, or contemporary blouse for the full modern look.
Quick Comparison: Which Drape for Which Occasion?
| Drape Style | Best Occasion | Difficulty | Saree Type |
| Nivi (modern) | Anywhere — daily wear to weddings | Easy | All sarees |
| Bengali | Durga Puja, Bengali weddings | Medium | Tant, Jamdani, Garad silk |
| Maharashtrian Nauvari | Marathi traditional weddings, lavani | Hard | Paithani, 9-yard silks |
| Gujarati seedha pallu | Gujarati weddings, temple visits | Easy | Bandhani, Patola, embroidered silks |
| Tamil Madisar | Tamil Brahmin weddings, religious occasions | Hard | 9-yard Kanjivaram |
| Mermaid / Lehenga | Receptions, sangeets, parties | Medium | Soft silks, georgette, organza |
| Dhoti / Pant-style | Cocktails, modern weddings, fashion events | Easy | Pre-stitched, lightweight silks, georgette |
First-Time Draper Tips: 8 Things That Make It Easier
- Choose the right saree for learning:A medium-weight cotton or Mangalagiri cotton saree drapes more predictably than slippery silk for your first attempt.
- Pre-iron your saree:Wrinkled fabric is harder to pleat. A quick iron makes the entire process smoother.
- Use the right petticoat:Cotton petticoats with a strong drawstring hold tucks better than satin or silk.
- Practice your pleats first:Before draping, practice making clean, even pleats on a flat surface.
- Don’t fear the safety pin:Even experienced wearers use 4–6 pins. They are not cheating — they are smart styling.
- Get the height right:The saree should fall just above your shoe — not pooling on the floor, not above the ankle.
- Watch tutorial videos:YouTube has excellent regional drape tutorials. Watch once, then practice immediately.
- Practice for an hour before the event:The day of a wedding is not the time to learn the Bengali drape from scratch.
| 💡 First-saree tip: Mangalagiri cotton sarees are arguably the best ‘learning sarees’ in Indian handloom. They have just enough structure to hold pleats, just enough softness to drape easily, and are forgiving on mistakes. |
Also read:- What Is Mangalagiri Cotton Saree — Full Guide
Also read:- How to Style Mangalagiri Cotton Sarees
Conclusion: 6 Yards, Infinite Possibilities
Mastering even one saree drape is a quiet kind of magic — the moment you stop watching your mother do it and start doing it yourself. From there, every additional drape you learn adds another way to honour the saree’s incredible versatility.
Start with the Nivi. Practice it until it feels automatic. Then learn the Gujarati or Bengali style for cultural occasions. Try the mermaid drape for your next reception. The saree is the most adaptable garment in the world — and every drape is just one rehearsal away.


About author





2 comments
Pingback:
Saree for Karwa Chauth 2026: Best Handloom Picks, Colours and Styling Guide - Shashikala SareesPingback:
Saree for Temple Visits Pooja: What to Wear, What to Avoid & Best Handloom Picks (2026) - Shashikala Sarees